Hello internet how are you all feeling? Today I am going to attempt once again another tutorial for Inkscape. This one will teach me how to create my own ghosts from Pac man. Here is the URL
http://howto.nicubunu.ro/inkscape_pacman_baddies/. This one looked a little bit easier than the one I attempted last time. I will re-writing the tutorial as I see it
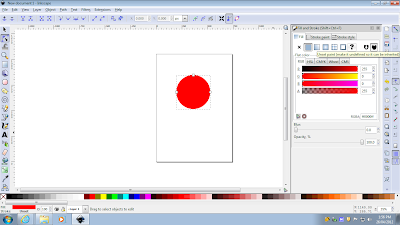
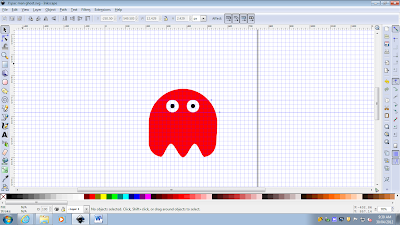
The first step was for me to create a circle using the 'Create circle' tool but I needed to hold the 'Ctrl' button while dragging it out. I used red for my ghost.
The next step of the tutorial was to convert the circle into a path. I am not quite sure what that means but it was under the 'Path' drop down menu and the button was called 'Object to path'. Now instead of having three white nodes (those dot things around the object) there was now four of them. The next step was to add two more nodes. To do this I needed to select the 'Edit path by nodes' tool which is the little black triangle clicking a square. Now with this selected I needed to double click just below the two nodes on the left and right sides of the circle. This added two new nodes which I could now drag them to change the shape of the object. I needed to select the two new created nodes so I held the 'Shift' while clicking them. Now that they were both selected I dragged them both down to the bottom while holding ' Ctrl' so it only moves vertically. This is what it ended up looking like.
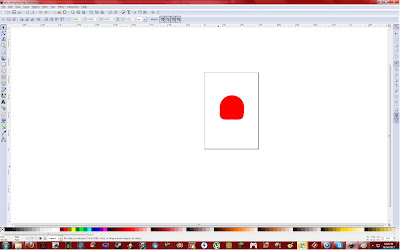 |
| Very ghost like isn't it? |
The next step was for me to add a few more nodes on the bottom of the shape. This was done in a slightly different way. I first clicked on the left bottom node, then shift clicked the bottom node and then I clicked on the 'Insert new node' button which is located on top tool bar on the most left hand side. I had to repeat this for the right hand node as well.
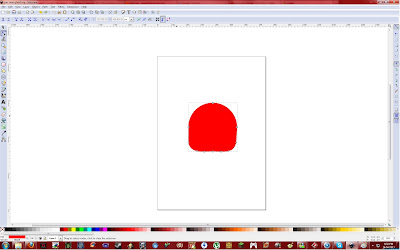 |
| A bit hard to see |
With my bottom nodes I selected the nodes to the left and right of the middle node. I then brought it up in the same way as I made the first ghost shape.
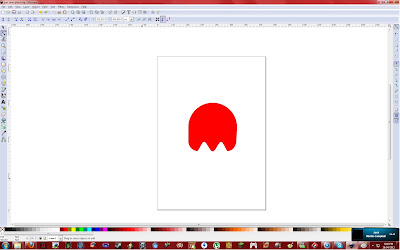 |
| Now we are getting somewhere |
Now according to the tutorial the hard part was over. I now needed to create eyes for my ghost by making a white circle and then a smaller black circle. After making one I duplicated it and moved it to the left making sure it was in line with the original line. To do this I placed some guides on the top and bottom of the eye.
 |
| He can see into your soul... |
Now here the tutorial says we could stop and use it as a basic ghost but where is the fun in that. I continued with the tutorial to make my ghost look even better. The first step in this process was to select and duplicate the basic ghost shape. With this black shape I needed to give it a 'radial gradient' being transparent in the centre. After being confused I found that there was a gradient tool. It is called 'Create and edit gradients' and is the green square thing with two white smaller squares with a line connecting them. Now like all good software users I started clicking things hoping something would work. I did get a gradient but it was not what I wanted. Upon further inspection I found out that I had in fact been using the 'linear gradient' instead of a 'radial gradient'. To change this I needed to click the second square found under the drop down menu bar. Now with the right tool selected I tried again and it worked...but backwards. The black was in the centre and this is not what was needed. After ten minutes of raging I just googled it and found a video tutorial on it. After watching it I had an idea on how I would fix my problem.
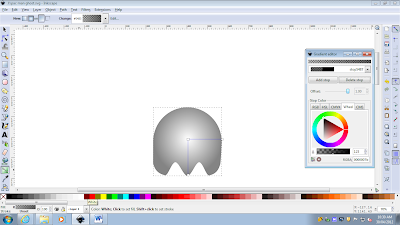 |
| And it worked :D |
I found out that in order to get this I needed to add things called 'stops'. This is found under the 'gradient editor' which can be accessed by clicking the 'edit' button which is located on the most left hand side of the gradient tool's tool bar. With this open I had to click the 'add stop' button. I can only guess that the term stop is used like the term layer would be used. so my first 'stop' was white and in the centre of the ghost. My next 'stop' was a gray colour which I made by using the colour slider near the bottom of the gradient editor window. After placing this on top of my ghost and moving the white gradient a little bit I was left with this.
 |
| A little bit dark on the outsides but not too bad for my first try |
Next step was to move onto the eyes. I needed to use the same process on the eye as I had used before on the ghost's body. This is what it looked like after doing this.
 |
| He can still see into your soul... |
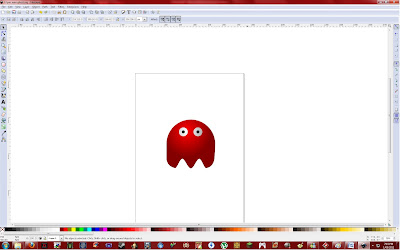
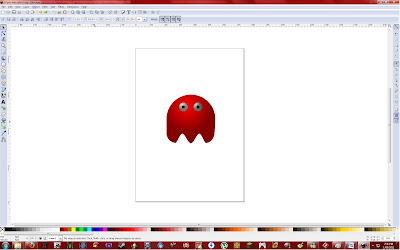
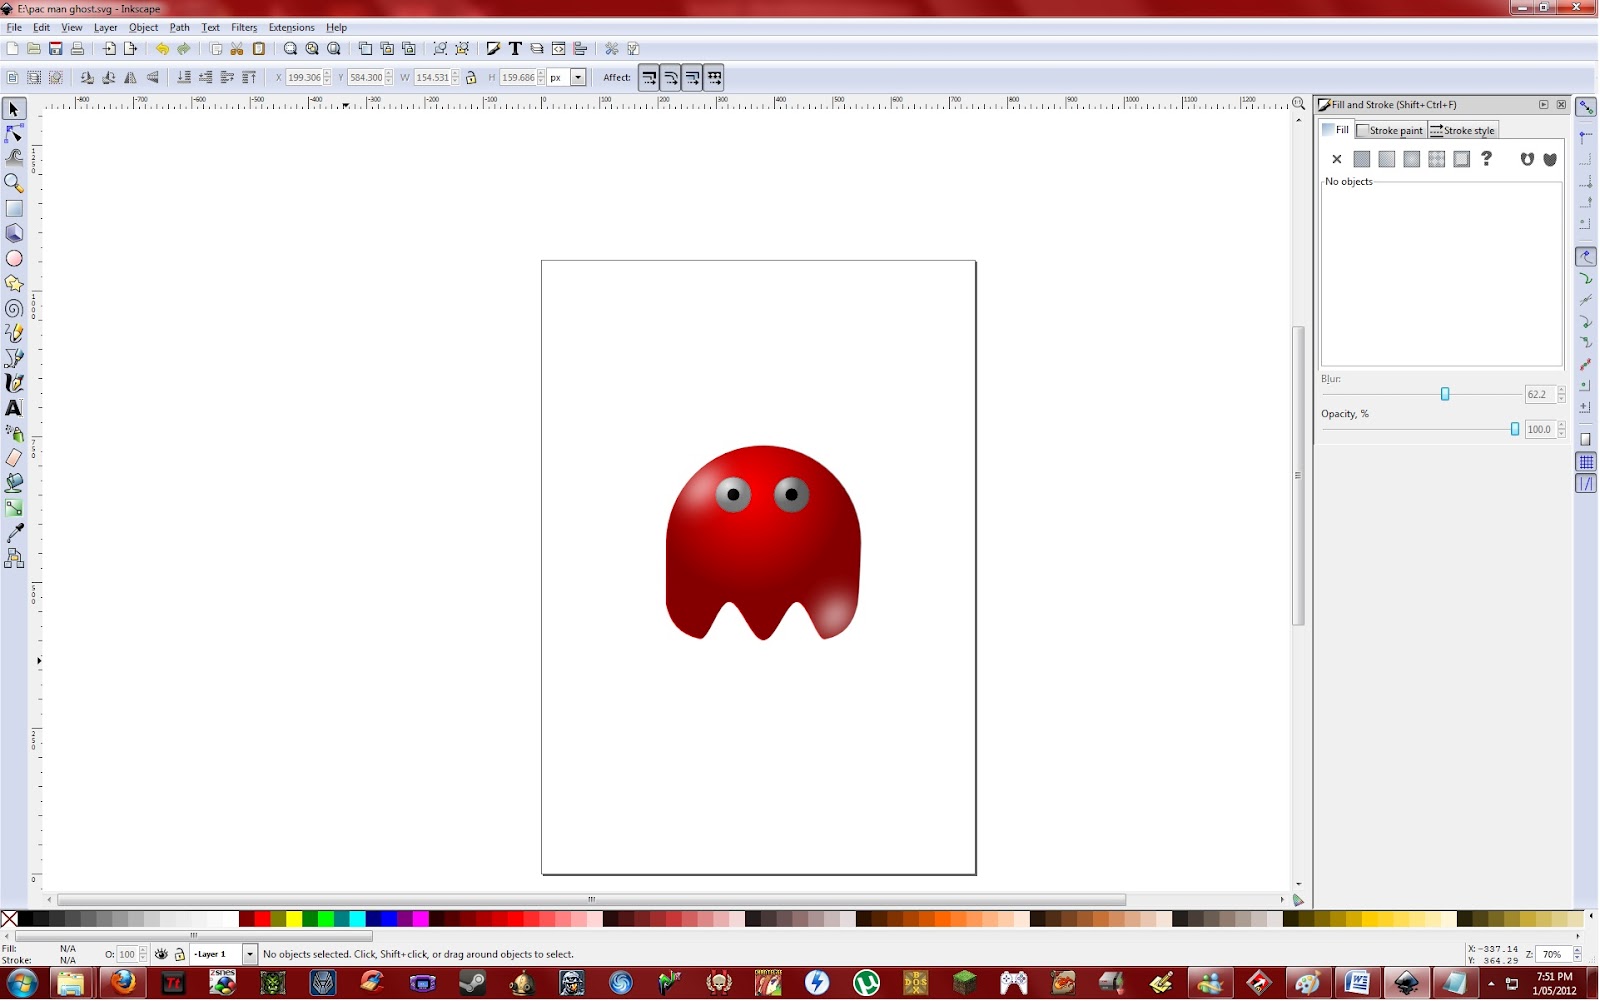
Now all the gradients were complete and I could start to move onto the final steps. These steps are adding a few highlights and a shadow. I started off with the top highlight by creating a white oval. I then placed it on the top left of the ghost. In the process of doing this I found out how to rotate an object. With the 'select' tool I doubled clicked the oval and I could not rotate the object using the arrows. Now I had to add some blur and change the opacity (found under the 'fill and stroke' shift+ctrl+f) so looked like a highlight opposed to a white oval on a ghost's head. I repeated this for a highlight on its left most stump thingy. This is what it looked like.
It was now time for the shadow and to do this I needed to get a black oval below the ghost. Once I had this I needed to repeat what I did to the ghost body and the eyes. I then needed to add some blur and my ghost was complete.
Now that is a nice looking ghost. All in all I do like my ghost but there are a few issues with it. I don't really like the look of its eyes and the gradient is a bit dark. However as long as I learned some new things I am happy and boy did I learn some new things. With all the skills I have gained from this tutorial I believe that I am now ready to make my logo.


No comments:
Post a Comment