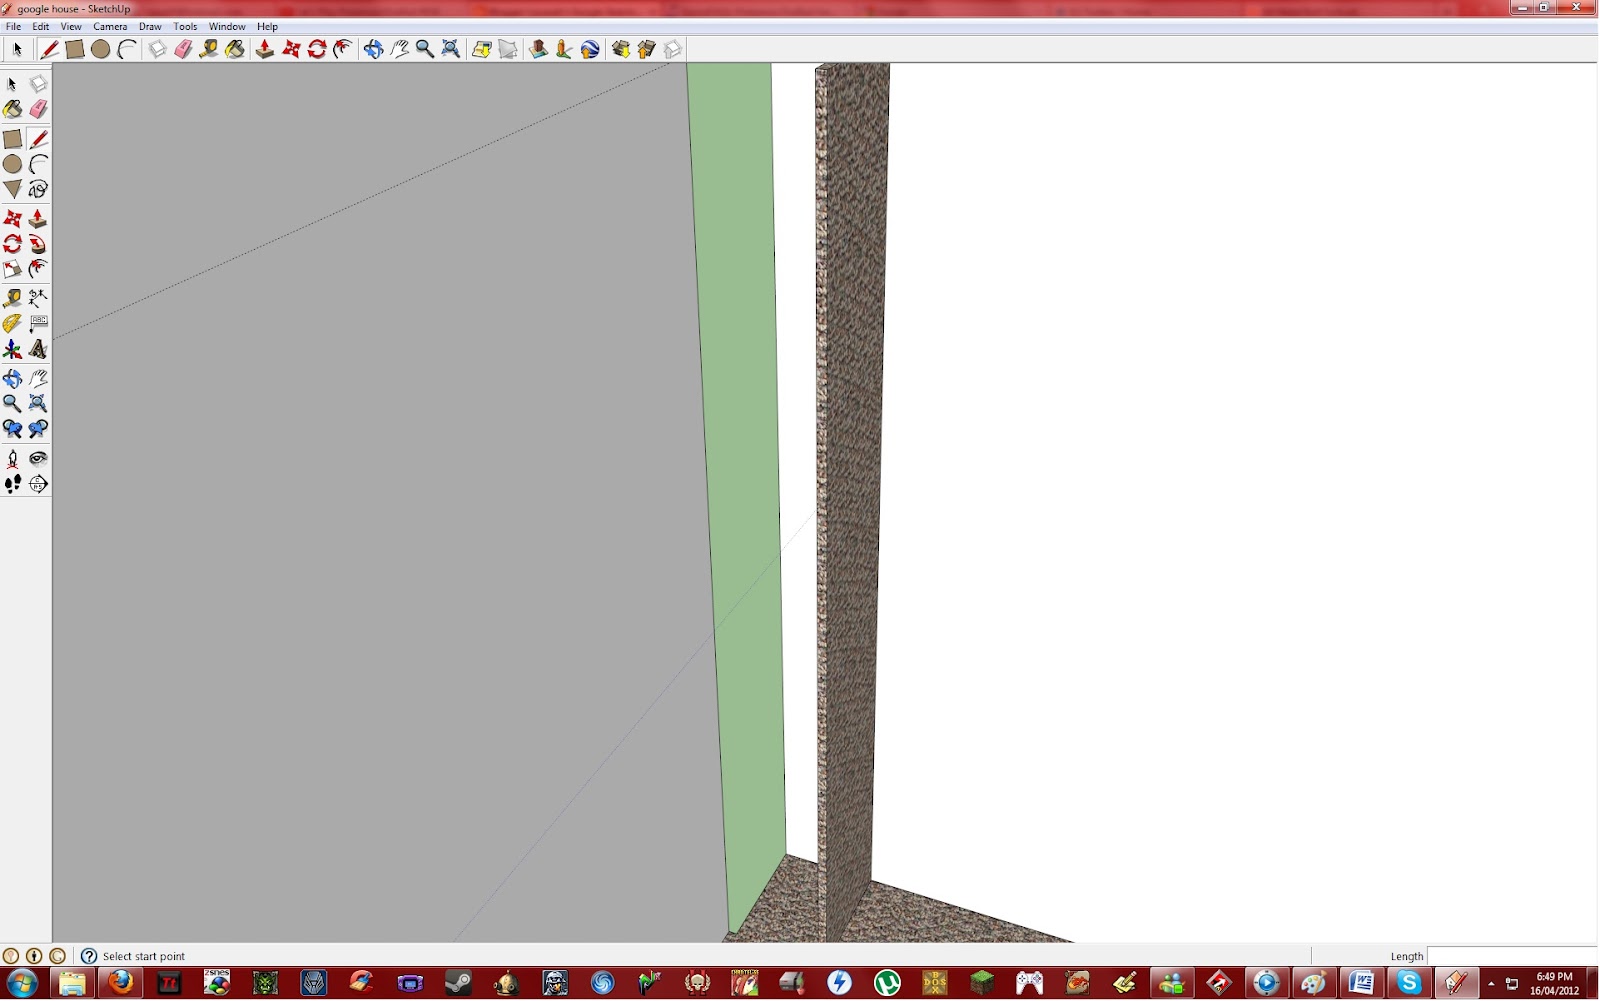
Now that my door is finished I can start making my book case in Google SketchUp. Like always I started off measuring the book case which was not very hard at all which I was happy about. Once I made I note of the measurements I started to make the basic skeleton of it. However the walls were starting to annoy me so I hid them all and this made it much easier to zoom in and out without getting stuck behind a wall. With the walls out the way I made a rectangle in the floor, which was painted with the paint bucket tool to look like carpet, and then brought it up to the correct height of 208cm. The only problem with my doing this was that it was still part of the wall and carpet. To separate this I turned it into a group but this left me with this.
This is what I wanted however there was now a hole in the wall and floor. To fix this all I needed to do was use the line tool to close up the gaps and then heal the surface.
Before I continued working on my shelf I felt like I needed to find a good wood texture for it. To do this I googled wood textures for Google SketchUp and I found this http://sketchup.google.com/3dwarehouse/details?mid=b403bbf532f39349da1ccb9f866cdc0d. It was a model made in Google SketchUp filled with different wood textures. To import a texture I needed to open up the model in Google SketchUp then go into the paint bucket tool and from the drop down menu (next to the little home icon) I selected 'In Model'. This shows all the textures in the current model. In this section I found the texture I liked best and then I right clicked it and selected 'Export Texture Image'. With this image now exported onto my USB I was now able to click the 'Create material' button, which is second button down on the top left on the paint bucket tool, and then click 'Browse' which was under the 'Texture' section. Once I was in browse all I had to do was select the image of the wood texture and then I could now use it to paint objects.
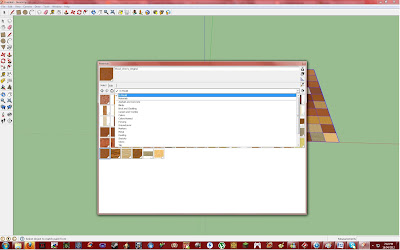 |
| The 'In Model' section of the drop down menu. |
 |
| The thing you must click after right clicking the desired texture. |
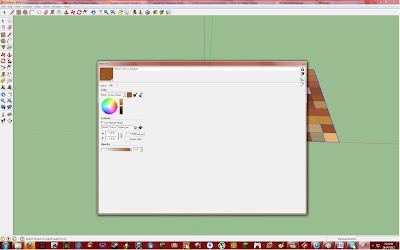 |
| The Browse button were you select the jpeg. |
After finally importing the new wood texture I could begin work on my shelf again. First thing I did was make a copy of my shelf's side and then moved this 75.5cm away from the original shelf. Once this part was done I could start working on the shelves of the book shelf. The shelves were easy to make because all I needed to do was create one rectangular prism and then copy (holding the Ctrl button while moving the object with the move tool) said prism seven times which looks a little something like this.
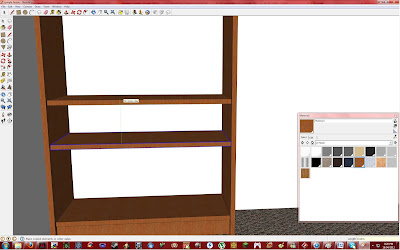 |
| The copying process. |
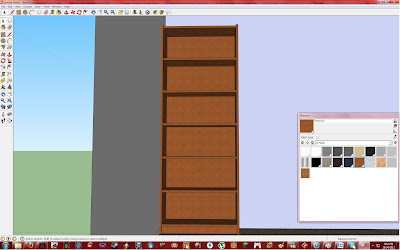 |
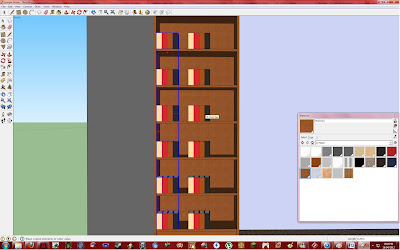
| The near final product. |
I was quite happy with my shelves now but they were missing one thing: books. "What book shelf doesn't have at least one book on it?", I thought. So I decided that I would need to make some books to place on my shelf. I decided to cheat a little bit and download some books from the Google 3D Warehouse just so I could save some time. After importing a group of books and copying them several times I got to this stage.
I then had another idea to save even more time which was to select all seven books as they were then, make them into a single group and then copy this one big group several times.
 |
| And my idea worked! |
And this was my end product which I was quite happy with because it is very simple but I think an effective book case.


No comments:
Post a Comment