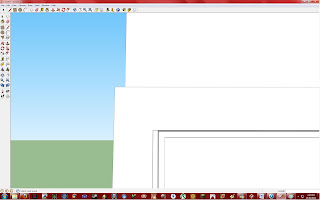
The first problem I faced before I could even start was that my roof was hidden and I did not know how to un-hide it. After some clever Google searches I found out that to un-hide something I first need to see hidden surfaces and in order to do this I need to click 'View' in the tool bar then select 'Hidden geometry'. Once I did this I could see my roof well sort of at least. This picture will explain what I mean.

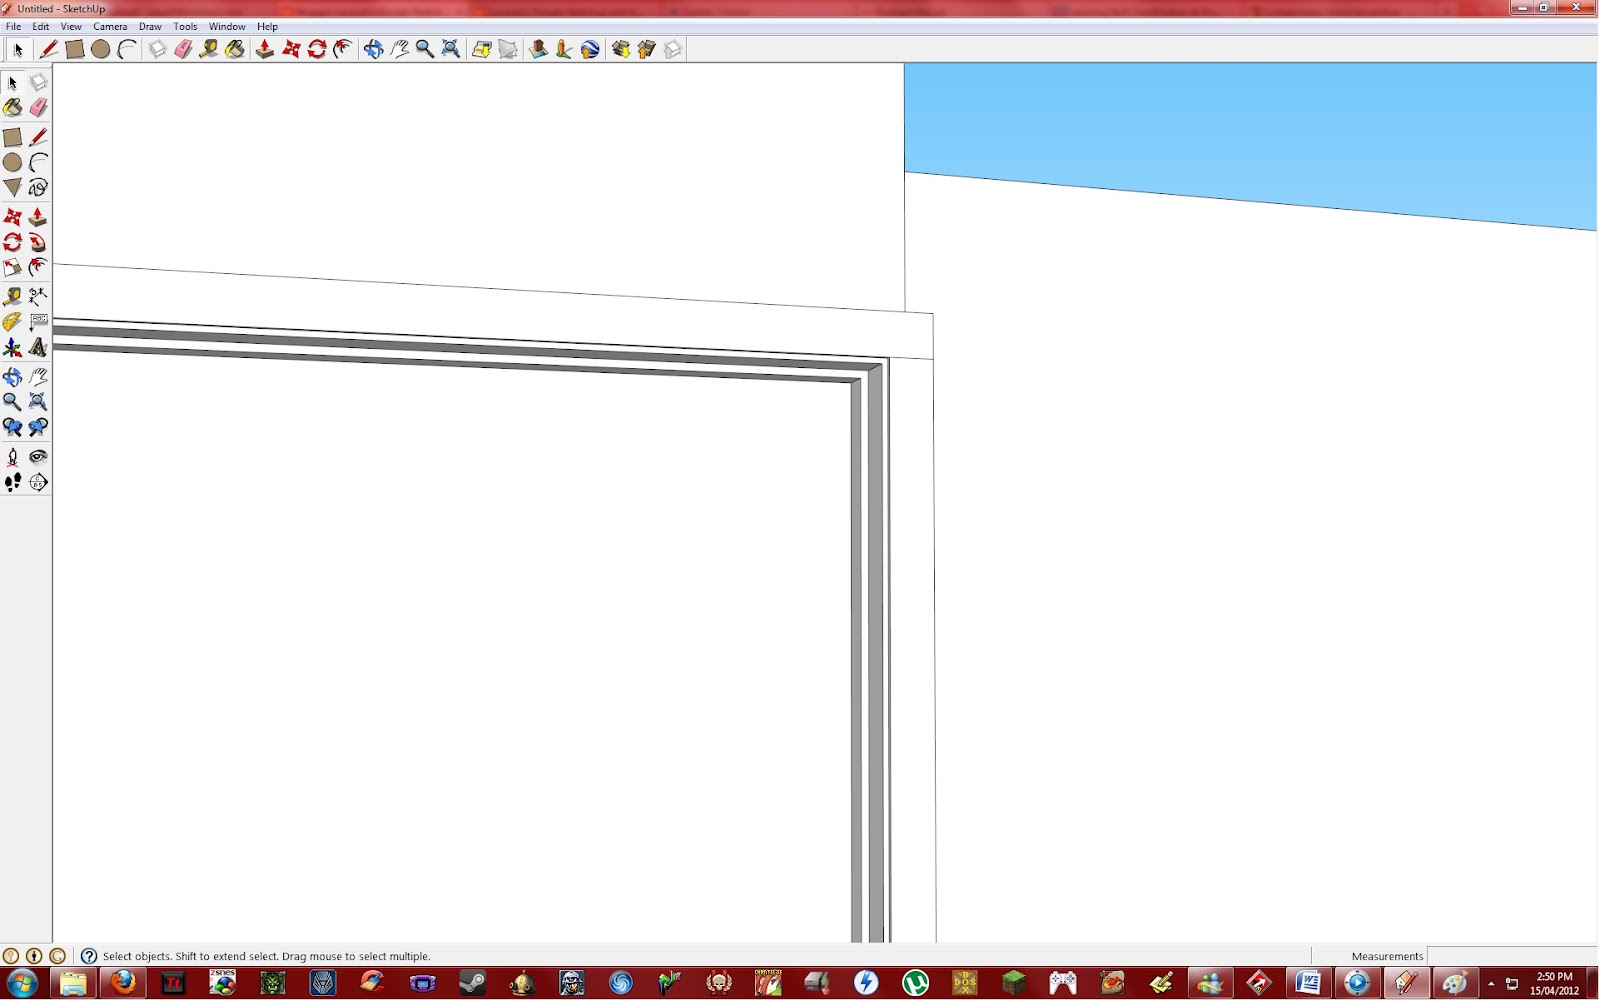
Now that does not look too bad however it was lacking a few details which will make the door frame look even better. I still needed to add a curve and cut out a 0.5cm square section from the whole door frame. To do the 0.5cm squares I used the measuring tape tool and the line tool. I then used the push/pull tool to push the square all the way up the door frame so it was leaving a 0.5cm square gap as it went. This worked perfectly for the two side doors however not so good for the top of my frame. Since I healed the surfaces of the door frame it was one whole surface. This gave me problems when I was trying to measure the square. Though I placed the measuring lines they would not show up. To fix this I thought I might as well add a couple of lines to separate the surface again and it worked. I was surprised that this fixed my issue but glad.

 |
| From this |
 | ||
| To this |
Once that was done I used the push/pull tool to finish off the rest of the door frame and ended up with the door frame looking like this. Now the door frame is looking a little bit better but it is still missing a bit of a inward curve.


Once again I was happy with what I had done and surprised that I had no issues in doing so. I used the same process again to give the big rectangle a triangular edge as well. Now one of my top panels were completed and since I am lazy and wish to save time I made my front panel into a component and then copied it over to were the second top panel should be. Since they are components if I were to edit one of them the other one will have the same thing done to it. I did this on purpose because both panels are identical. Now that my top panels were done I needed to repeat the entire process again but this time for the bottom panels. This is what the end product looked like.


Now I needed to use the push/pull tool to pull out the inner circle 4cm. However it turns out I cannot push/pull a curved or smooth surface. In order to fix this problem I drew 5 lines marking out the size of the inner circle. I then drew the circle upon these five points and was now able to push and pull this circle. I am not quite sure why this fixed the problem however it was still fixed so I am not complaining.

Now that I had fixed this problem I then needed to pull the circle 4cm towards the door and then give it a 2cm deep inward curve. After having struggling with this for more than 10 minutes I had finally given up and decided that the best option would be to download a door knob from the Google 3D Warehouse.

Now that my door was complete I realised that I would need to duplicate the door and put them back to back in order to get the same design on both sides. Once I did all this I made both sides of the door a single object then moved them back to where they needed to be. After hiding a few stubborn lines and filling in some blank spaces I managed to place my door into my room however depending on the angle you look at the door will appear to have blank spots but you know you can all ignore that...right?


No comments:
Post a Comment